Who this is for and what you will be able to do
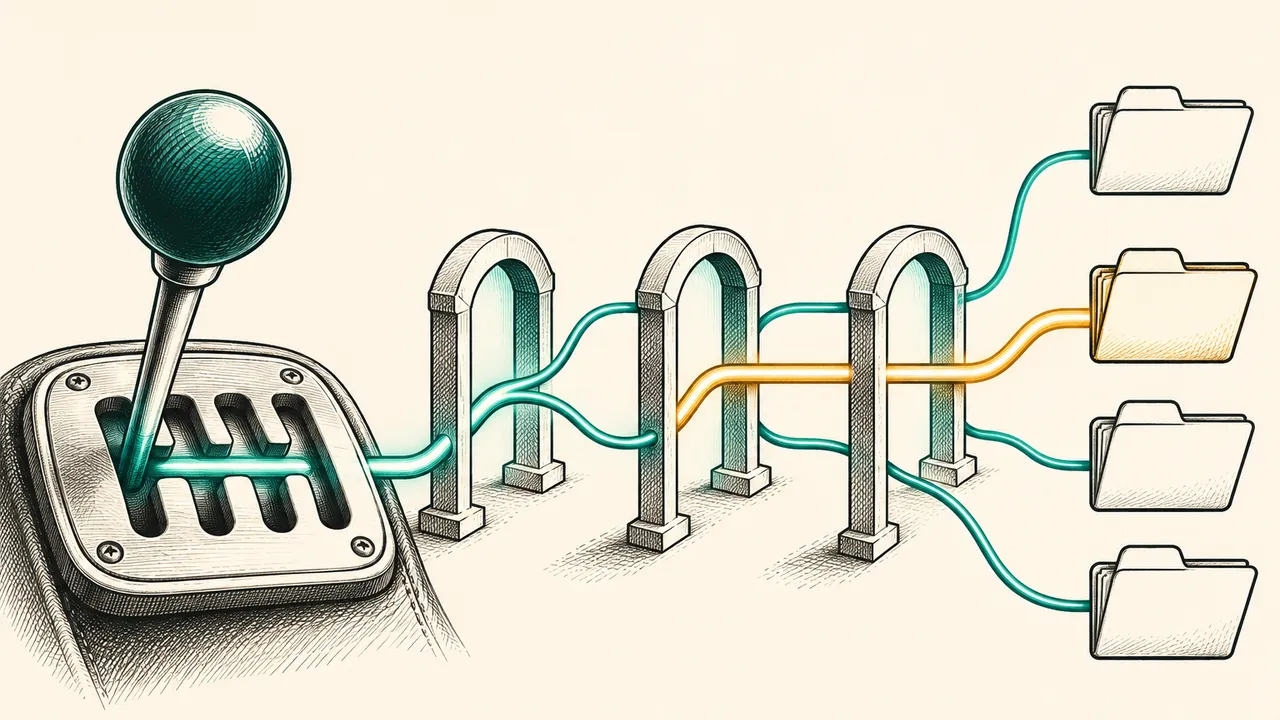
This guide is for developers who already write simple LangChain agents and want to see how the Deep Agents capabilities (filesystem tools, context compression, skills and subagents) fit together. After reading it, you can build with create_agent an agent that reads a CSV and runs analysis code in a sandbox. You will know what each step adds and can swap in only the parts you need.[1]
Why not just use create_deep_agent
Both create_agent and create_deep_agent give fine-grained control over tools and memory. The main difference is that Deep Agents already includes common capabilities such as planning, file system tools and subagents.[1]
If the default Deep Agents harness does not fit, start with create_agent and add one piece at a time. That shows what each component contributes, and you keep only what you need.[1] The final stack mirrors what create_deep_agent assembles by default, but every piece is wired up by hand.[1]
The target: an agent that analyzes a CSV
The agent accepts a CSV file for analysis, writes and executes Python code in an isolated sandbox, delegates visualization to a specialized subagent, and loads data analysis patterns from a skills file.[1]
The build has five steps. Each adds one capability to the same agent: a minimal loop, a sandbox with filesystem tools, summarization, skills, and a visualization subagent.[1]
Prerequisites
- Install the packages. In Python, run
pip install deepagents langsmith; in JavaScript, usenpm install deepagents langsmith.[1]
pip install deepagents langsmith- Get a LangSmith API key. The sandbox client authenticates with
LANGSMITH_API_KEYfrom the environment, so the example needs one.[1] Export it:
export LANGSMITH_API_KEY=...- Turn on tracing with
LANGSMITH_TRACING=true. It lets you inspect tool calls, middleware steps and subagent delegation at each step.[1]
export LANGSMITH_TRACING=true- Export the key for your model provider, such as
OPENAI_API_KEY,ANTHROPIC_API_KEYorGOOGLE_API_KEY. With Ollama, either run the local server or setOLLAMA_API_KEYfor hosted inference.[1]
Step 1: the minimal agent
Use create_agent and a model. This agent has no filesystem and cannot run code, so asked about a CSV it can only guess from the prompt.[1] Its purpose is to provide a baseline for the components that follow.
Step 2: sandbox and filesystem
Analyzing data means running code on files, which needs an isolated sandbox and tools that expose it to the model. LangSmithSandbox gives the agent an isolated environment where it can install packages, write scripts and run them without touching your computer.[1]
FilesystemMiddleware turns sandbox file operations into tools: read_file, write_file, edit_file, glob and grep, plus delete in the Python version. Because LangSmithSandbox implements the sandbox protocol, the middleware also adds an execute tool for shell commands.[1] Swapping in another backend later leaves the middleware in place.[1]
The sandbox filesystem is separate from your computer, so upload the files first. Use absolute POSIX paths such as /sales.csv. A relative path like sales.csv is rejected with invalid_path, and the file is not written.[1]
Combine the code from the earlier steps into one script. For the Python version, run:
python analyze_sales.pyThe first run provisions a sandbox, which can take a few seconds. The script uploads sales.csv, streams the run and prints assistant messages as they arrive. Wording varies from run to run.[1]
Step 3: context management
Every tool result stays in the message history. A real session with several plots, failed scripts and large read_file output fills the context window quickly.[1]
SummarizationMiddleware compresses older turns once the history grows too large, so the agent keeps working without manual trimming. It matters most on follow-up questions, such as segmenting by product and plotting monthly trends.[1]
Step 4: skills
Skills supply domain knowledge on demand through progressive disclosure. At startup the agent sees only lightweight metadata about each skill and loads the full file when a task needs it.[1] Rules stay out of the system prompt until they are needed.
A skill lives in a directory such as skills/pandas-patterns/ with a SKILL.md file. The example below covers pandas and matplotlib patterns:
---
name: pandas-patterns
description: Common pandas and matplotlib patterns for data analysis and visualization
---

## Data loading
Use `pd.read_csv()` for CSV files. Always check `df.info()` and `df.describe()` first.

## Visualization
Use `matplotlib` for bar charts, `seaborn` for statistical plots.
Save figures with `plt.savefig("output.png", dpi=150, bbox_inches="tight")`.

## Reporting
Write a markdown summary to `report.md` alongside any generated charts.
Skill paths resolve on the sandbox filesystem, so upload the local skills/ directory before you configure SkillsMiddleware.[1] Then try a prompt such as "Analyze sales.csv using our pandas patterns". The agent loads the skill for plotting or reporting, and skips it for questions that do not need it.[1]
Step 5: a visualization subagent
Some work produces a lot of intermediate output, such as script drafts, failed runs and file reads. A subagent runs in its own context window, so the supervisor sees only the final result.[1]
Chart generation suits a subagent, since plotting often means iterating on scripts, installing packages and reading error output. With TodoListMiddleware and SubAgentMiddleware, the main agent delegates chart work to the visualizer subagent through the task tool, and it can run that work in parallel rather than waiting on each plot.[1]
In LangSmith, the task call to visualizer appears as a separate sub-run with its own tool loop, and only a short result returns to the supervisor.[1]
Limits and common questions
- A relative upload path fails with
invalid_path, and the file does not reach the sandbox.[1] - The first run takes a few seconds to provision the sandbox.[1]
- Output wording changes between runs, so do not compare it word for word.[1]
- Once it runs, compare your hand-built version with the default assembled by
create_deep_agentto decide which components you actually need.[1]
Next steps
For the pre-assembled version, read the Deep Agents customization guide. For the full data analysis example built with create_deep_agent, see the data analysis section of the same documentation.[1]
Adapted from the LangChain tutorial *Build a data analysis agent from scratch*[1], released under the MIT License.
Sources
- 1Build a data analysis agent from scratchLangChain docs (MIT)
Cite this page: Building a data analysis deep agent from scratch. TellWorld, https://www.tellworld.net/practice/practice-deep-agent-from-scratch. Updated 2026-11-14