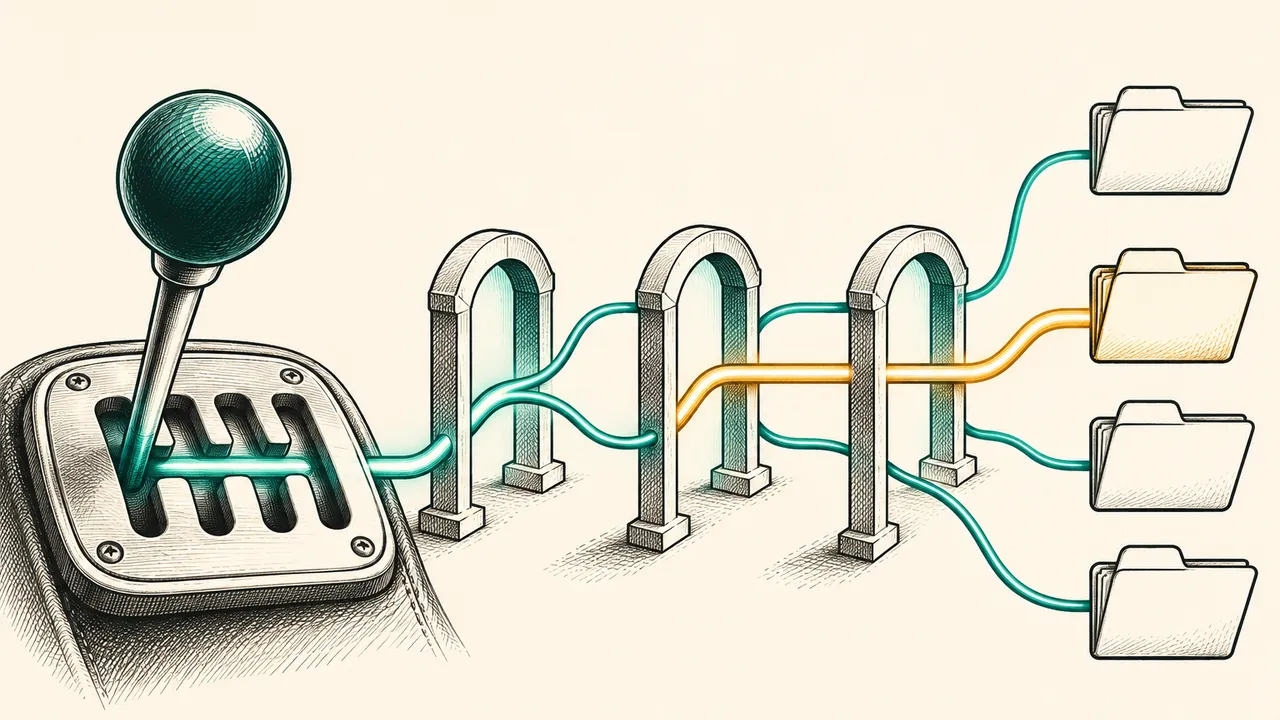
This guide is for readers who can write Python and want to build an LLM-driven agent whose flow they can control. By the end you will know the three core concepts of LangGraph (state, nodes and edges), how to assemble a graph with a conditional branch in a few dozen lines, and when LangGraph is a better fit than plain Python.
What LangGraph is, and how it differs from LangChain
LangGraph is a framework developed by LangChain to manage the control flow of applications that integrate a large language model (LLM)[2]. LangChain provides a standard interface for interacting with models and other components, such as retrieval, LLM calls and tool calls. LangGraph can use LangChain classes but does not have to. The two packages are separate and can be used in isolation, though most resources use them together[2].
When to use LangGraph
When you design an AI application, you face a trade-off between control and freedom. Freedom gives the LLM more room to be creative and to tackle unexpected problems. Control keeps behaviour predictable and maintains guardrails[2].
Code agents, such as those in smolagents, are very free. They can call several tools in a single action step and create their own tools. That also makes them less predictable and less controllable than an agent that works with JSON[2]. LangGraph sits at the other end of the spectrum. It is most useful when you need control over how the agent executes, because it lets you build an application that follows a predictable process while still using the power of LLMs[2].
LangGraph fits several kinds of scenario[2]:
- multi-step reasoning that needs explicit control of the flow;
- applications that need state to persist between steps;
- systems that combine deterministic logic with AI;
- workflows that need human intervention;
- complex agent architectures with several components working together.
How LangGraph works
LangGraph uses a directed graph to define the flow of an application. Nodes represent individual processing steps, such as calling an LLM, using a tool or making a decision. Edges define the possible transitions between steps. State is defined by the user, is maintained during execution, is passed between nodes, and is what the graph looks at when it decides where to go next[2].
Compared with plain Python if-else code, LangGraph includes state, visualization, logging (traces) and built-in human-in-the-loop support. You could build the same application without it, but LangGraph provides these tools and abstractions for you[2].
Step 1: Define the state
State is the central concept in LangGraph. It represents all the information that flows through the application. Because the state is user defined, design its fields so they contain all the data the decision-making process needs[1]. In the example, the state is a TypedDict with a single field, graph_state[1]:
from typing_extensions import TypedDict

class State(TypedDict):
    graph_state: str
Step 2: Write the nodes
Nodes are Python functions. Each node takes the state as input, performs an operation and returns updates to the state. A node can contain LLM calls, tool calls, conditional logic or human input[1]. The three nodes below each append text to graph_state[1]:
def node_1(state):
    print("---Node 1---")
    return {"graph_state": state['graph_state'] +" I am"}

def node_2(state):
    print("---Node 2---")
    return {"graph_state": state['graph_state'] +" happy!"}

def node_3(state):
    print("---Node 3---")
    return {"graph_state": state['graph_state'] +" sad!"}
START and END exist directly in LangGraph. They mark the beginning and the end of the whole workflow[1].
Step 3: Connect the edges
Edges connect nodes and define the possible paths through the graph. A direct edge always goes from node A to node B. A conditional edge chooses the next node based on the current state[1]. The example uses decide_mood, a conditional function that returns node_2 or node_3. It makes a 50/50 split with a random number, and the code comments note that in practice the state is often used to decide[1]:
import random
from typing import Literal

def decide_mood(state) -> Literal["node_2", "node_3"]:

    # Often, we will use state to decide on the next node to visit
    user_input = state['graph_state']

    # Here, let's just do a 50 / 50 split between nodes 2, 3
    if random.random() < 0.5:

        # 50% of the time, we return Node 2
        return "node_2"

    # 50% of the time, we return Node 3
    return "node_3"
Step 4: Assemble and compile the StateGraph
The StateGraph is the container that holds the whole agent workflow[1]. The code below creates a builder with StateGraph(State), adds the three nodes, adds a direct edge from START to node_1, adds a conditional edge from node_1 through decide_mood, and sends node_2 and node_3 to END. Then compile() produces the runnable graph[1]:
from langgraph.graph import StateGraph, START, END

# Build graph
builder = StateGraph(State)
builder.add_node("node_1", node_1)
builder.add_node("node_2", node_2)
builder.add_node("node_3", node_3)

# Logic
builder.add_edge(START, "node_1")
builder.add_conditional_edges("node_1", decide_mood)
builder.add_edge("node_2", END)
builder.add_edge("node_3", END)

# Add
graph = builder.compile()
Note the difference between the two methods. add_edge makes a fixed connection, while add_conditional_edges lets a function choose the next step[1].
Step 5: Visualize and invoke
A compiled graph can be drawn. The example calls graph.get_graph().draw_mermaid_png() and displays the image with display from IPython.display[1]:
from IPython.display import Image, display

# View
display(Image(graph.get_graph().draw_mermaid_png()))
To run the graph, call invoke with an initial state dict[1]:
graph.invoke({"graph_state" : "Hi, this is Lance."})In this example the flow passes through node 1 and then node 3, and the output is the final state with the appended text[1]:
---Node 1---
---Node 3---
{'graph_state': 'Hi, this is Lance. I am sad!'}
Next steps
A natural next step is a more practical graph: one that takes in e-mails, classifies them, and drafts a preliminary answer when they are genuine[1].
Adapted from unit 2 of Hugging Face's open-source course *Agents Course*, which covers LangGraph[1][2], released under the Apache-2.0 License.
Sources
- 1Building Blocks of LangGraphHugging Face agents-course (Apache-2.0)
- 2What is LangGraph?Hugging Face agents-course (Apache-2.0)
Cite this page: LangGraph building blocks: state, nodes and edges. TellWorld, https://www.tellworld.net/practice/practice-langgraph-building-blocks. Updated 2026-11-14